Cake it Pretty
Recipes
Recipes Birthday Parties
Recipes Valentine's Day
Strawberry Red Velvet and Vanilla Checkerboard Cake
If you follow the blog you probably know how much I love baking and decorating cakes. My love of cakes comes from watching my mom bake every Sunday when I was a child, so baking brings back so many wonderful memories for me!
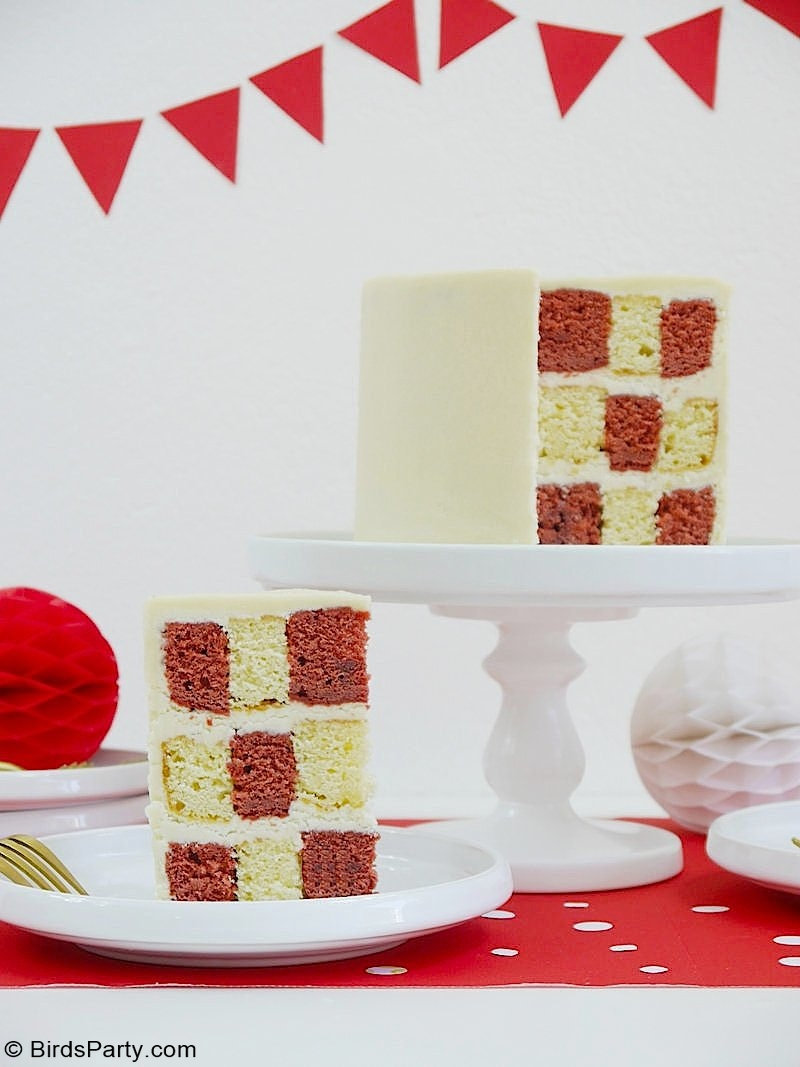
Nowadays, I love to try my hands at different cake decorating techniques, like today's strawberry red velvet and vanilla checkerboard cake. I love how fun it was to make, and it was my first time making a red velvet cake!
Strawberry Red Velvet and Vanilla Checkerboard Cake
The red velvet cake part was actually achieved with strawberry-flavored food coloring powder, because I think it tastes better than the regular red food coloring without any flavor.
I bought my strawberry food coloring powder in France and it was a game changer for this cake, since it allowed me to achieve a bright red color without much food coloring at all, and gave the most wonderful strawberry flavor to the cake batter!
I guess you could probably use freeze dried strawberries and pulverize them in a coffee grinder to get the same flavor, and just use regular red food coloring that you can find in most cake stores for the color.
After some research, you can also buy strawberry powder online on Amazon and an array of natural food colors too, so don't be afraid to experiment! Then come back and let me know how it turned out ok? 😁
The other cool new thing for me on this cake was the checkerboard pattern! This was so easily achieved using some round cookie cutters!
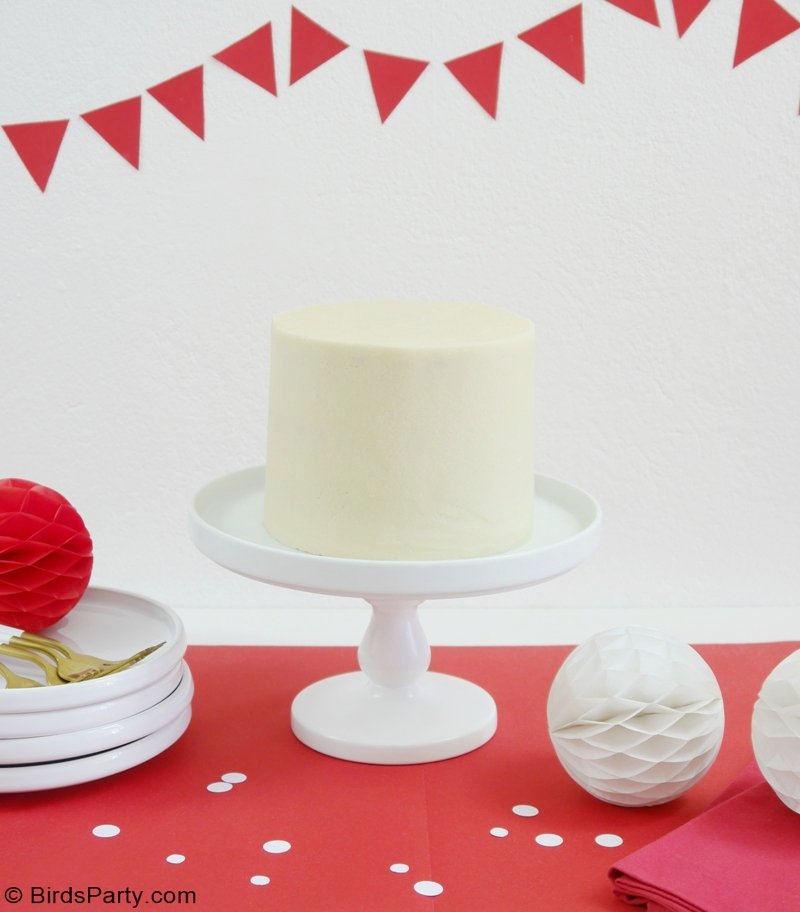
For the frosting, I kept it simple to emphasize the intricacy of the cake interior with a tradition vanilla buttercream, but you could also use a simple cream cheese buttercream.
For the red velvet cake itself I used a recipe from The Pretty's Kitchen and modified it slightly.
On this occasion, I baked two three layer cakes, one vanilla and one red velvet. So I had a couple of cake layers leftover since I only needed 3 layers altogether for the checkerboard pattern. But you can freeze the other layers for another occasion, or save the extra cake layers for snacks or cake pops!
This cake would be so fun for a surprise birthday party, a gender reveal baby shower, for a fun tea party now that spring is coming up! And don't forget that you can totally vary the colors of your cakes to create whatever color combination for your checkerboard cake inside!
Strawberry Flavor Red Velvet and Vanilla Checkerboard Cake

Yield: 6-8
Prep time: 60 MinCook time: 60 MinInactive time: 60 MinTotal time: 3 Hour
Ingredients
White Vanilla Cake
- 175g unsalted butter room temp
- 175g granulated white sugar
- 3 egg whites
- 60g plain milk yogurt
- 175g flour
- 10g baking powder
- 2 teaspoon vanilla extract
- 1/2 teaspoon salt
Red Velvet Cake - adapted from Preppy Kitchen's recipe.
- 113 g of butter at room temperature
- 2 tsp vanilla extract
- 240ml milk yogurt
- 1 tbsp. vinegar
- 2 eggs
- 600g plain flour
- 342g granulated white sugar
- 2 tsp red strawberry powder food coloring
- 1 tsp salt
- 1 tsp baking powder
Vanilla Buttercream Recipe
- 2 cups of room temperature butter
- 6 cups powdered icing sugar
- 2 tsp vanilla or almond extract
- 3-4 tbsp. milk or cream to reach desired frosting consistency
Instructions
White Vanilla Cake
- Pre-heat your oven to 180 deg. C.
- In a mixer fitted with paddle attachment, mix butter until soft, add sugar and mix until pale and fluffy.
- Add vanilla, and one egg white at a time, beating and scraping the bowl after each addition to incorporate.
- Sift flour, salt and baking powder into butter/sugar mixture.
- Mix on medium for about 1-3 minutes until fully incorporated and you get a smooth batter.
- Divide batter into two 6-inch cake pans lined with parchment paper and buttered.
- Bake at 180 deg. C. for about 30-35 minutes or until a skewer inserted in the center comes out clean.
- Let cakes cool in the pan before removing onto a wire rack to cool completely.
- Wrap cooled cakes in plastic wrap and place in the freezer for about 30 minutes before cutting to make it easier.
Red Velvet Cake
- Pre-heat your oven to 180 deg. C.
- In a mixer fitted with paddle attachment, cream butter until soft.
- Add sugar and beat until combined.
- Add vanilla, and one egg at a time beating and scraping the bowl after each addition.
- In another bowl, sift the flour, salt and baking powder.
- In a separate bowl mix the yogurt, food coloring and vinegar.
- Add half the flour mixture and half the red yogurt mixture to the sugar/butter bowl and beat until combined.
- Add remaining flour mixture and red yogurt mixture to the sugar/butter bowl and mix until combined.
- Divide the batter into three 6-inch cake pans lined with parchment paper and buttered. You'll only use two layers for this cake, so freeze the extra one for later
- or to make cake pops.
- Bake in a pre-heated oven at 180 deg. C. for about 30-35 minutes or until a skewer inserted in the center comes out clean.
- Let cakes cool in the pan before removing onto a wire rack to cool completely.
- Wrap the completely cooled cakes in plastic wrap and place in the freezer for about 30 minutes before cutting to make it easier.
Vanilla Buttercream
- In a mixer fitted with paddle attachment, cream the butter for about 5 minutes until pale and soft.
- Add the 1/2 the powdered sugar and mix until combined for another 2-4 minutes.
- Add remaining sugar and mix again until combined for about 2-4 minutes.
To assemble your cake
- Cut a 4 inch circle from the center of two layers of the red velvet cake. Repeat for two layers of the vanilla cake.
- Cut a 2 inch circle from the center of the 4 inch circles you cut above for all the layers.
- Now, put the layers back together: Start with a 6 inch red velvet circle, then add 4 inch vanilla circle in its center, finishing with a 2 inch red velvet circle in its center.
- Repeat for the other 2 layers alternating the cake colors. Example: 6 inch vanilla circle with a 4 inch red velvet circle inside it, and 2 inch vanilla in its center.
- Add a red velvet cake layer to the cake plate and frost with a layer of buttercream. Add a vanilla cake layer on top and frost. Repeat the frosting,
- Alternate the cake layers (red velvet cake, vanilla cake, red velvet cake) until you have a 3-layer stacked cake.
- Crumb coat your cake: Frost the outside of the cake with a thin layer of buttercream, smooth it out with a bench scraper of cake smoother, then place the cake in the freezer for about 10 minutes to chill.
- Add another coat of buttercream to your chilled cake and smooth the frosting with a bench scraper or cake smoother.
- Refrigerate the cake until ready to serve.
Check out how to make your checkerboard cake in my quick video below!
Hope you like the ideas and feel inspired to have a go! If you do, tag me on social media @BirdsParty so I can see and share your creativity! 😍
🎈 SHOP this post | This post Strawberry Red Velvet and Vanilla Checkerboard Cake appeared first on Bird's Party Blog


No comments
Post a Comment
Thanks for stopping by ! We would love to hear what you thought about this post and feel free to suggest content you would like to see ! :-)
Please note that comments are moderated and spam will be deleted.